
Archery Class

Archery Class
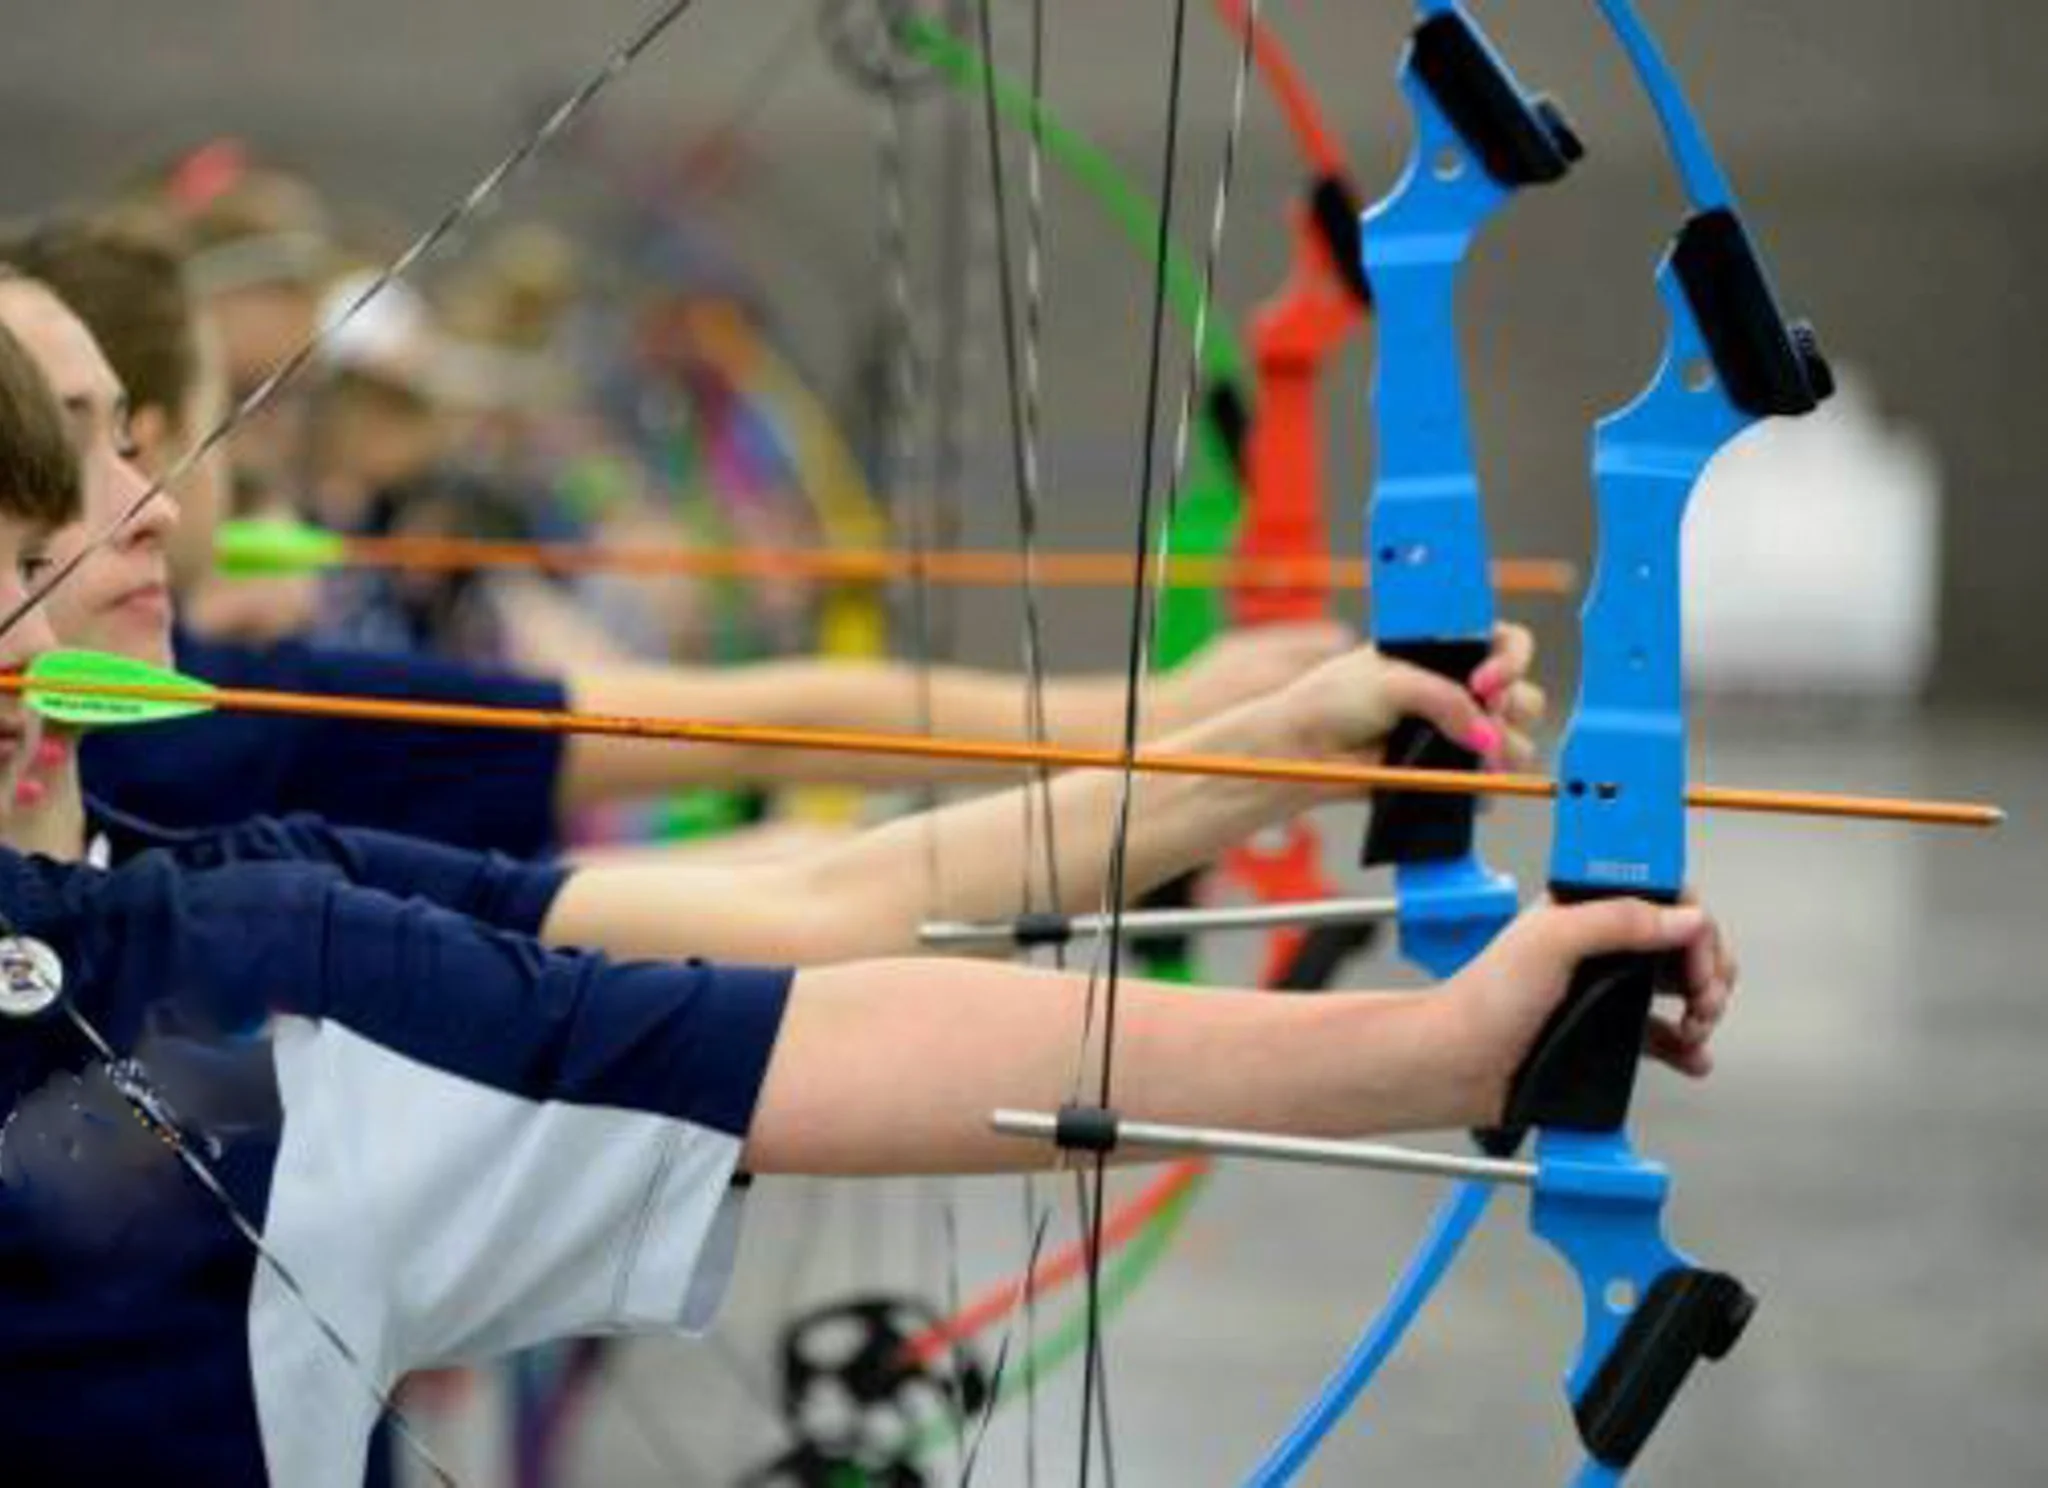
A 4 week class that is tailored for new and beginner archers, we focus on the NASP program and use the NASP bows. For kids over 8 and adults. All the equipment is provided.
Stance: Stand with feet shoulder-width apart, one foot slightly forward toward the target. Open the front foot slightly (10 o’clock for right-handed, 2 o’clock for left-handed) while keeping the back foot parallel to the shooting line. Maintain vertical posture with knees firm and head up
Nock Arrow: Place the arrow on the bowstring, grabbing below the fletching. Keep the arrow pointed downrange and the bow vertical
Set Draw Hand: Hook the bowstring with three fingers under the nock, using a semi-shallow hook. Avoid tension or gaps between fingers and the arrow nock
Set Bow Hand: Position the bow grip under the lifeline of the relaxed bow hand. Bow hand knuckles should form a 30–45 degree angle
Pre-Draw: Raise the bow to eye level, hinge the bow arm and drawing arm, and rotate the bow arm elbow down and away. Do not start drawing until the bow is fully raised
Draw: Smoothly pull the string toward the face with the draw arm parallel to the ground, maintaining control and alignment
Anchor: Establish a consistent anchor point on the face, typically at the corner of the mouth or jawline, ensuring repeatable form
Aim: Focus on the target while keeping the bow steady. Use sighting techniques appropriate for the bow type
Shot Set-Up: Prepare for release by maintaining proper posture, alignment, and tension. Ensure the bow and arrow are stable
Release: Relax the fingers and drawing hand simultaneously, allowing the string to move forward naturally. Slight rearward movement of the drawing shoulder and arm helps smooth the release
Follow-Through & Reflect: Maintain form after the shot, observing arrow flight and reflecting on technique for improvement
Following these steps consistently helps archers develop accuracy, safety, and confidence in their shooting, while minimizing common issues like target panic